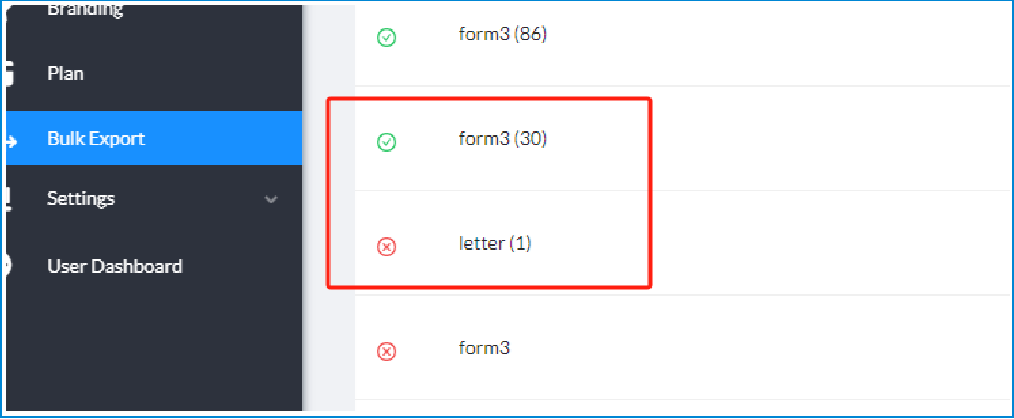
If you need to close your account or move documents in bulk, the Bulk Export feature allows you to save copies of documents sent by you or your organization.
Bulk Export lets you:
- Download multiple documents at once into a combined ZIP or TGZ file
- Export files locally or to an integration (e.g., SharePoint)
Bulk Export is also useful if you have enabled document retention, which automatically purges documents from your Signority account after a specified period. In these cases, Bulk Export ensures you can save copies of your documents before they are permanently removed.
Running a Bulk Export
- Navigate to Bulk Export based on your plan:
- Individual Plan: Select Bulk Export from the left-hand sidebar menu.
- Team Plan: Select Admin > Bulk Export.
- Click Create Bulk Export in the top right.
- On the Create Bulk Export page, you will see the following export configuration options:
- Document Status – Filter the documents you need to export by their current status.
- Export documents from – Select the date range the documents should fall within. This is based on when the document was last modified at the time the export is run.
- Export documents to – There are two options:
- Direct Download: Generates a download link where you will be able to download the documents from.
- The link is valid for 7 calendar days.
- Before the link expires, you may refresh the link for another 7 days, after which the link is permanently deactivated.
- After that, the link expires permanently and files are deleted and unrecoverable
- Integration: Export documents directly to a connected integration (e.g., SharePoint).
- Direct Download: Generates a download link where you will be able to download the documents from.
- File Type – Choose the compression file type you want to receive the files in. There are two choices: ZIP file or TGZ file.
- Automatically Delete Exported Documents – This option allows you to have the documents deleted off of our servers once the export has been completed.
- Once you have configured the export, click Export.
Note: If the total size of the selected files exceeds 1 GB, the documents will be compressed into two or more ZIP/TGZ files.
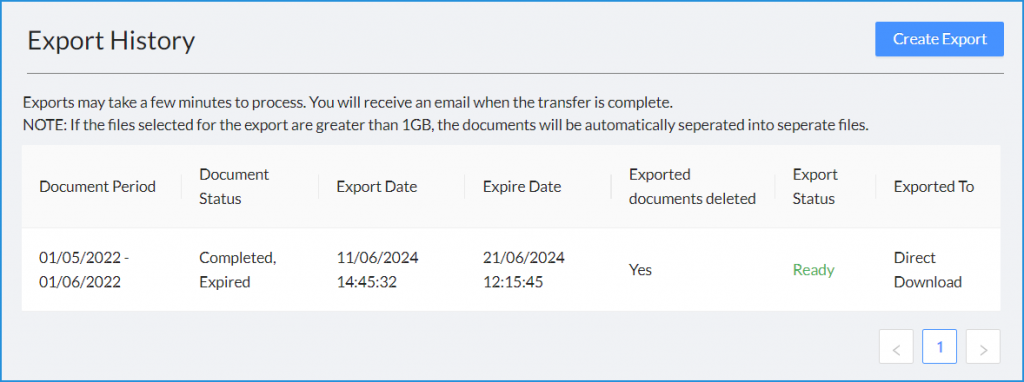
You will be directed back to the Bulk Export page where you will see your new export has been queued.
The Bulk Export table displays the following columns:
- Document Period – Selected date range
- Document Status – Applied status filter
- Export Date – Date and time of export
- Export Documents Deleted – Indicates if auto-delete was enabled
- Export Status – Queued, Ready, or Expired
- Exported To – Direct Download or Integration
Once your export is ready, you will receive an email notification.
Accessing Your Export
When the export has been successful, you will receive an email letting you know that you can access your documents.
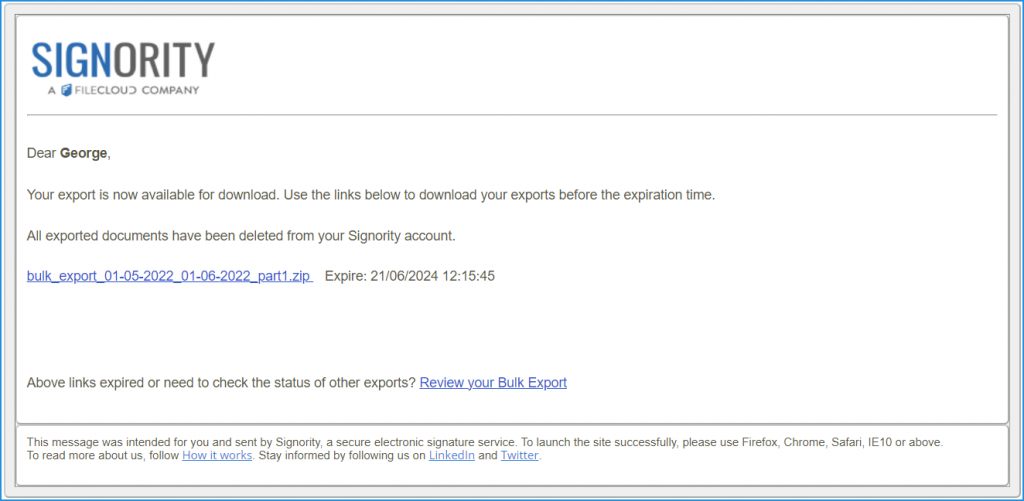
Direct Download
To download your export:
- Click on the link in the completed export email or go to the Bulk Export page in Signority.
Note: Bulk Export links in the email are only valid for seven calendar days from the date the export was completed.
- Click anywhere on the row of the export you want to download.
- This will open the Export Details page where you can:
- View the details of the export
- Go back to the Exports History Page
- Download the ZIP/TGZ files directly
- View the list of documents and verify that their export was successful
Integration Export
If you exported to an integration, you can view the export details in Signority, but you’ll need to go to your configured storage location (such as SharePoint) to access the files.
View Export Details and Verify Export Report List
To view the list of documents you exported and verify that they all completed successfully:
- From the bulk export page, click anywhere on the row of the export you want to view.
- Click the expand icon (+) beside the export name.
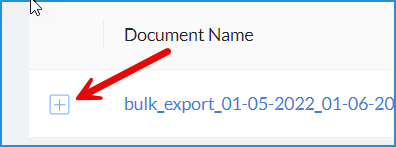
You will see a detailed report with a list of all the documents you selected for export. The columns in the report, from right to left, are:
- Document Name: Name of the document
- Owner: This is the person who created the document
- Last Modified: The date this document was last modified.
- Status: This is the status of the document at the time of its export.
- Document Size: The file size of the document.
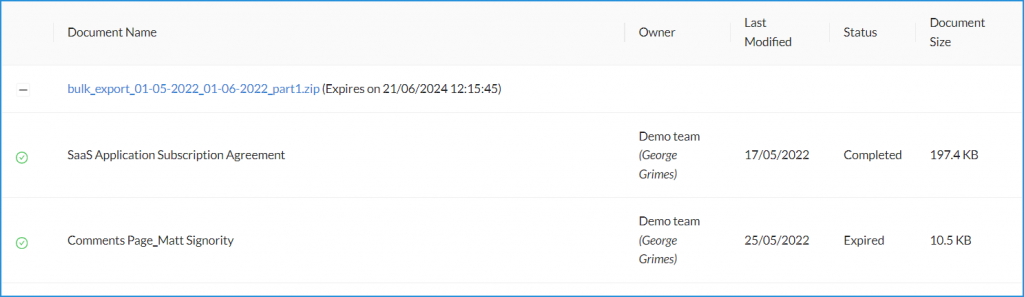
To the left of each documents name, you will also see either a green checkmark icon or a red x icon. This tells you whether or not the export of that document was successful.